


Contributing Writer Madie Phillips, ’23
This year it’s especially important for students to be able to easily check their email and see important messages from teachers, peers, administrators, clubs, etc. But with all of the messages from Google Classroom clogging up students’ inboxes, it’s understandable that most might be dissuaded from doing so. However, there is a way for this problem to be fixed, and if you follow the directions below, your inbox should be nice and tidy in no time.
1. Open Gmail
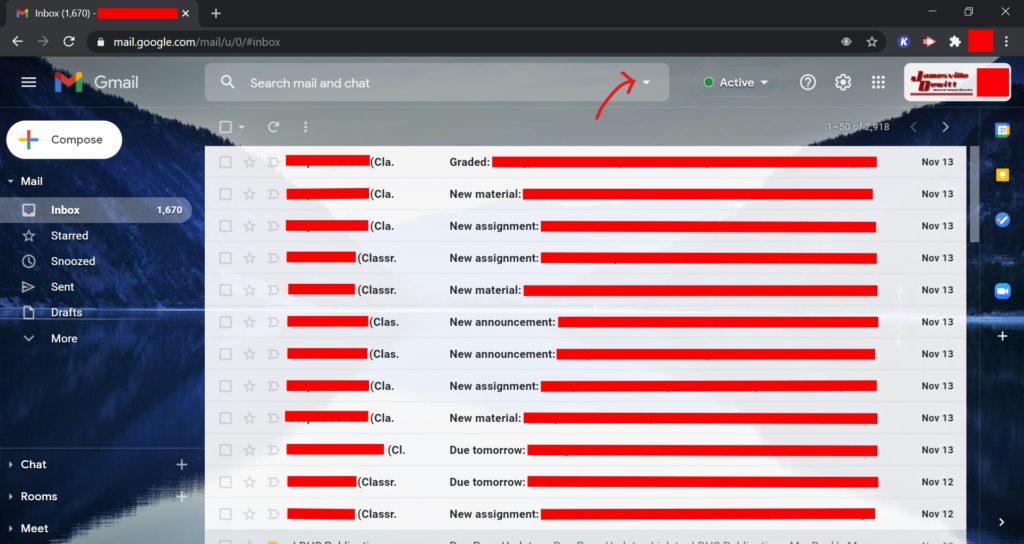
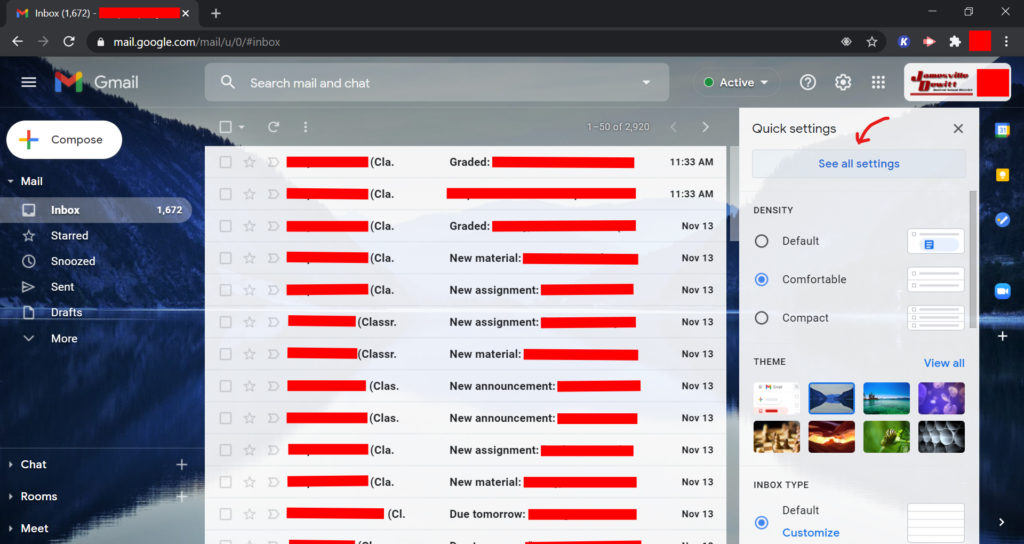
On your web browser, go to gmail.com and your email should come up. It is likely that yours will look similar to this, with multiple Google Classroom emails clogging your inbox and hundreds of unread emails.

2. Create a New Filter
Now we’re going to start combatting this clutter.
You may or may not have noticed that at the bottom of every Google Classroom email, there’s this line: “If you don’t want to receive emails from Classroom, you can unsubscribe.”
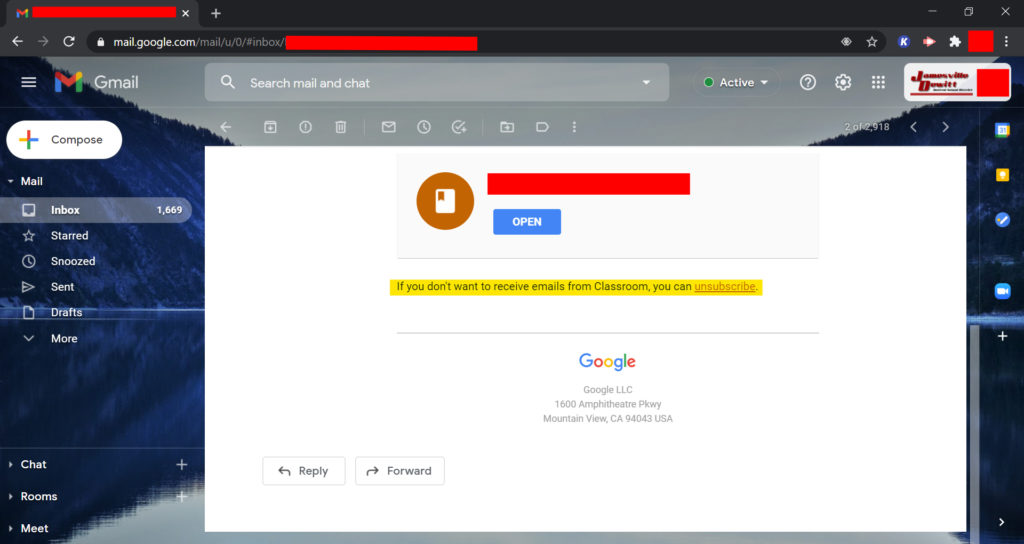
While you could unsubscribe, these emails are actually quite helpful in informing you of new assignments, personal comments from your teachers, grades, etc. They’re just not helpful when they’re clogging up your inbox.
Instead, we’re going to use this line to our advantage. First, click on the little arrow on the right side of the search bar.
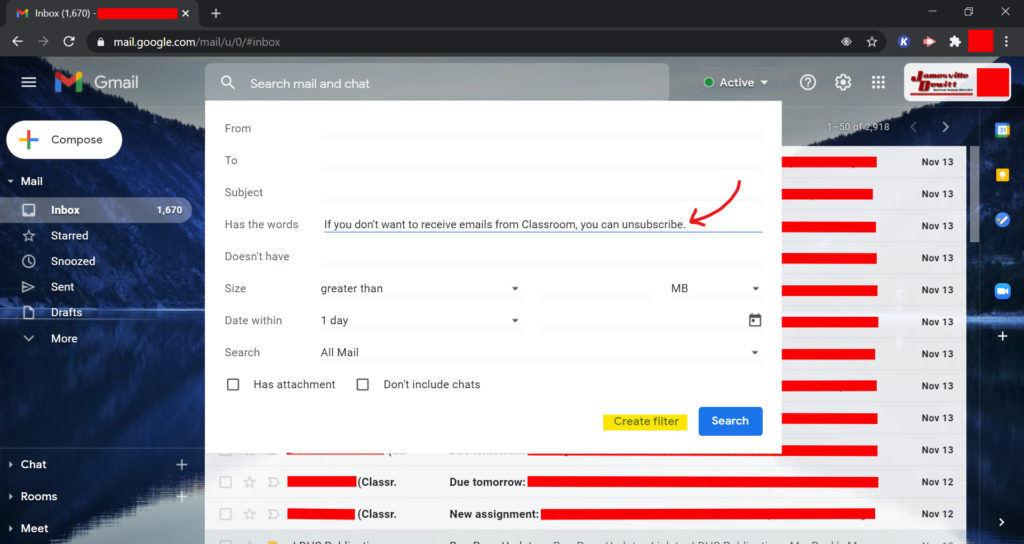
When you do this, there should be a dropdown menu. In this dropdown menu, you are going to copy and paste the line mentioned above into the category labeled, “Has the words.” Then, you’re going to click the button at the bottom labeled, “Create filter.”
3. Setting the Criteria
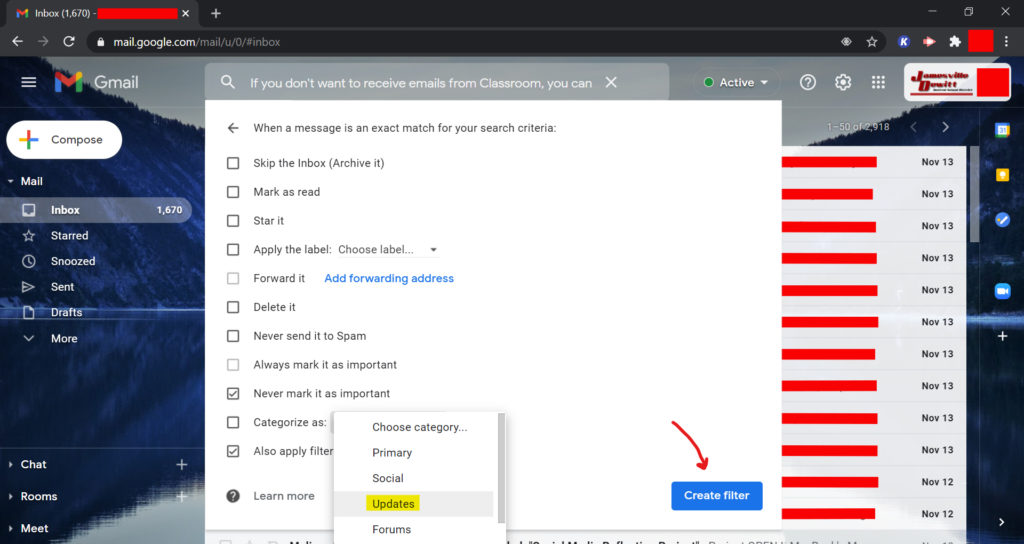
Now it’s time to tell Gmail what you want this filter to do. First, you’re going to check the two boxes labeled, “Never mark as important” and “Also apply filter to matching conversations.”

Then you’re going to check the box labeled “Categorize as” and choose the Updates category. Finally, click “Create filter.”
4. Making the Updates Category Visible
When you return to your inbox, however, you will notice that nothing has changed. We need to go into the settings menu and make the Updates category visible. To do this, click on the settings cog in the upper right corner of your screen.

A tab will open on the side of your screen which contains shortened settings. However, we need more advanced settings. Click on “See all settings.”
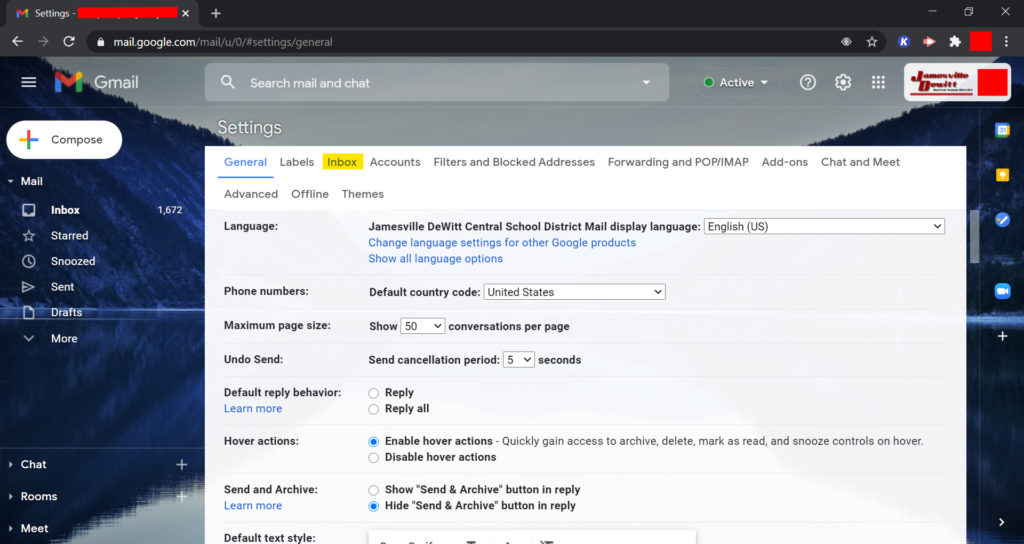
You will be sent to the General settings page. However, we need the Inbox settings. So, click on that tab.
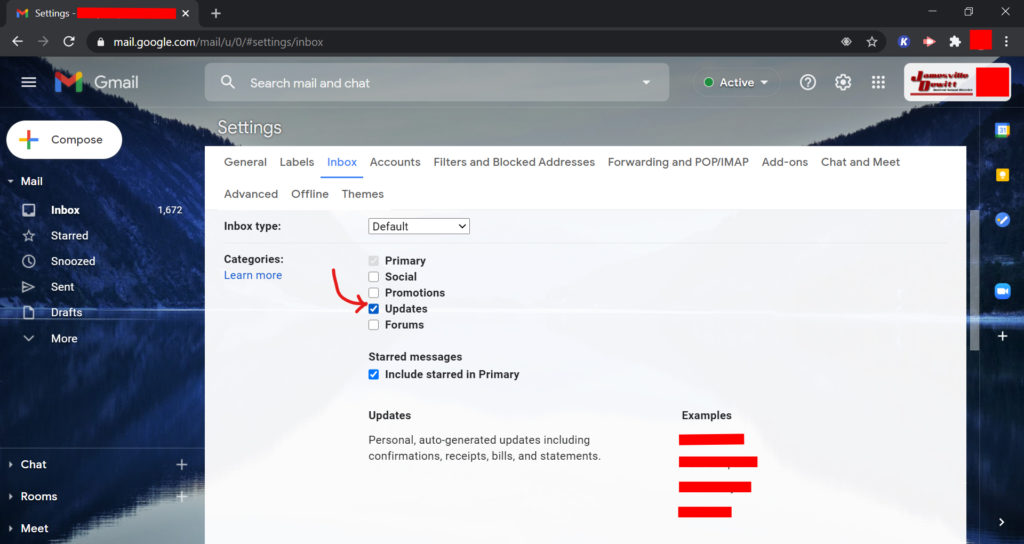
Once there, you should check the box labeled Updates.
Scroll down and click on “Save Changes.”
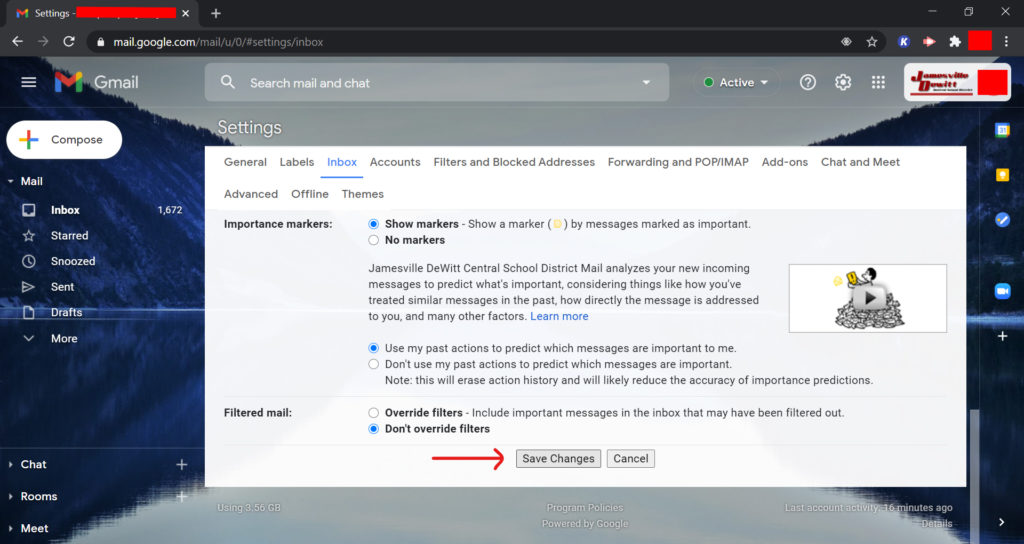
When you click this, you should return to an organized inbox. You may even see some emails in your Primary tab that you have never seen before! However, this is not a foolproof way to do this. In the future, some Google Classroom emails may pop up in your Primary tab. Simply drag them over to your Updates tab, choose “yes” to the pop-up message that follows and you should be good.
After around a week of reorganizing a few emails here and there, all of your Google Classroom emails will safely be stored away in the Updates tab, leaving the important emails easily visible to you.