


There are a few things you should know before starting the process of building your PC. You should not build a PC on carpet, unless you have an anti-static wristband with a grounding strip, because carpet creates static electricity that can shock you badly when mixed with PC parts. You can ground yourself by attaching the strip to a conductor on the ground, such as your power supply. Static electricity can also short out your parts. You also shouldn’t wear socks if you are building a PC or changing out parts on carpet, for the same reason. You should always have many screwdriver heads on hand, as you will be screwing many things in place. It’s always quicker and easier to use a cordless electric screwdriver. You can buy a large kit of screw heads on Amazon for $20. You should also have something magnetic to stick the screws to, so you don’t lose them. You should also probably read your motherboard’s manual before beginning the installation process. You are ready to begin your PC journey! Remember to have patience, and have fun! Let’s get into it.
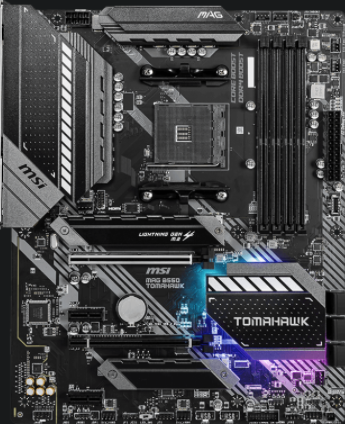
The first step is to insert the CPU into the motherboard socket. There will be lots of tiny pins either on the bottom of the CPU or in the motherboard socket. AMD CPUs come with pins on them, while Intel socketed motherboards have pins on them. First, release the lever holding the socket in place, then insert the pins and holes perfectly, being sure not to bend any pins. If pins get bent, the part no longer works. No pressure! Make sure to align the arrow on your CPU with the top of the socket. These directions pertain to the mainstream chipsets, by the way, not the multi-thousand dollar platforms that are rarely used by beginners, or anyone for that matter. Once the CPU is inserted perfectly into the board, bring the lever back down over the CPU, and voila! You’ve completed the first step.
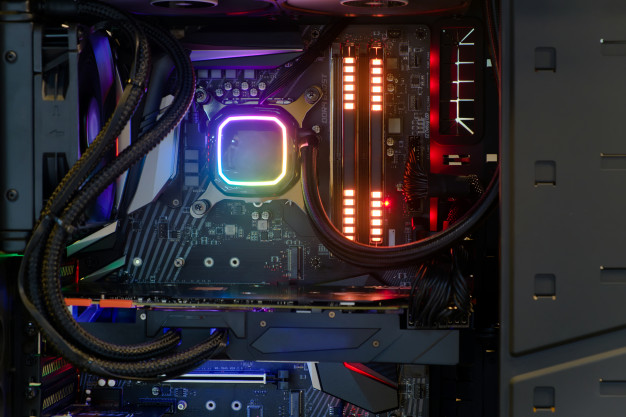
Next, you will install the CPU cooler on top of the CPU. If you use the stock cooler, it’ll have pre-applied thermal paste, so don’t worry. If not, just put a small dab of thermal paste in the middle of your CPU. Don’t put too much, as you don’t want it running over onto your motherboard out the sides. Either gently spread out the paste evenly, or let your cooler do it for you by placing the cooler on top of the chip. Of course, you should also mount it to your motherboard by screwing it in, or attaching it however it says in the manual. It is usually fairly easy. This is assuming you are using an air cooler. If you are using a liquid cooler, the same applies for thermal paste and the mounting of the water block, but you should consult your cooler’s manual for instructions on how to mount the radiator and fans to the case. Many people like to mount them to the top of the inside of the case. Be sure to attach any fans/AIO pump to their connectors in the motherboard. These will be labeled, or in the manuals. Congratulations! Another step is behind you.
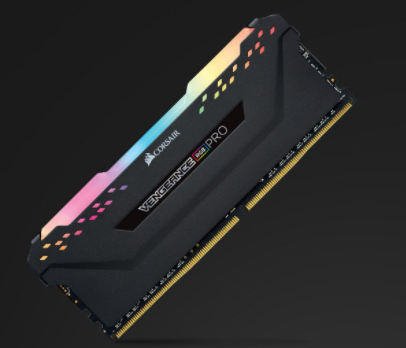
Possibly the easiest step to the process is installing the RAM. To the right of your CPU socket, you will probably see four long, thin slots. Maybe two if you have a smaller or cheaper motherboard. That’s where you will insert the DIMMs. Simply undo the latches on either side of the slot, line up the RAM with the slot, and push in. The latches should automatically close. You may have to push relatively hard. If you have two RAM sticks, and your motherboard has four slots, you should generally put the RAM in slots two and four, so you can run it in the faster dual-channel configuration. Sometimes it’s slots one and three, so consult your motherboard’s manual to see how to run RAM in dual-channel. And just like that, you’ve done it!
Next, we will go over how to install an M.2 SSD to the motherboard. If you have a SATA SSD, or no SSD at all, you can skip this part. If you have a SATA M.2 or an M.2 NVMe Drive, this is for you. The M.2 slot will be a rectangular area below your CPU cooler. There are several of these slots, but most people only need to use one. If you only have one of these drives, use the top slot first. First, remove the screw opposite the slot. It may not be there in the first place, however. Slide the end of the SSD with the connectors into the slot. Then, lay the SSD flat across the motherboard, and screw in the mounting screw you took off. This will secure the SSD in place. Another step down! Not so hard after all, right?
Before installing the next part of your rig, you should put your motherboard into your case. First, remove the side panel to your case (you may have to refer to your case manual). Next, install the standoffs, or little screws that attach to your case to hold the motherboard. Refer to the case manual for positions to place these. Some cases, however, have standoffs already installed. Your motherboard could have an I/O shield, which protects the area around the ports, already attached to the board, separately in the box, or none at all. In most cases, it’ll come with one separately in the box. To install the I/O shield, you have to snap it into place on the back side of your case. Then, line up your motherboard with the standoffs and I/O shield cutouts, and place it in. Now we can begin the next component’s installation.
To install the power supply, locate the area to insert it, usually in the bottom left corner when looking at the side panel. Simply slide it in from the back of the case, with the cables facing the front of the case, then screw it in place. Plug in the motherboard and CPU cables, as you’ll do the other ones later.
An easy part of your build is installing SATA storage, whether that be a hard drive or traditional SSD. To mount one of these, simply connect the SATA cable to the motherboard and drive, and SATA power cable from your power supply to your drive. Then, find a mounting location, also known as a hard drive cage, and either screw or snap the drive in place, depending on your case’s mounting system. For this, refer to the case manual. Now we get to an exciting part.
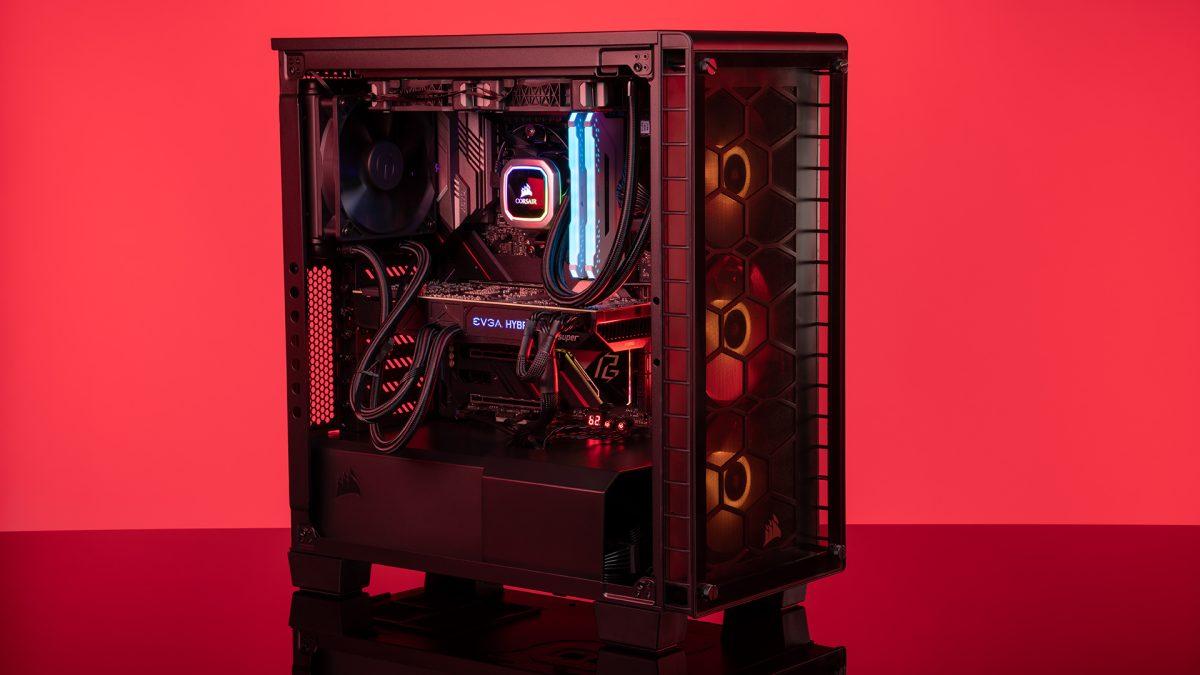
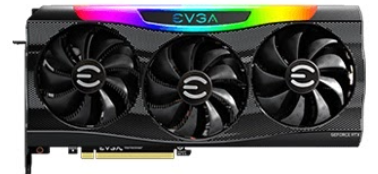
Of course, the graphics card is the most important part of most builds. So installing it and seeing it in your system for the first time is really exciting. Luckily, this part isn’t too hard. If you don’t have a graphics card because your CPU has integrated graphics, then skip this step. For the rest of you, listen closely. First, remove the covers on the back of your case where the GPU’s ports will be. Then, insert the GPU into the top PCI-e slot on your motherboard. It’s long, thin, and below your RAM and M.2 SSD. For most card dc you then want to plug the PCI-e cables into the PSU, and then attach them to your graphics card. Now you’re nearly finished!
Finally, make sure all your cables are in place. Make sure all the fans are plugged into your motherboard, and plug in all your front panel I/O connectors from your case to your motherboard, so the ports and buttons on your case are usable. Consult your motherboard manual for exact placement of the connectors. Be sure your cables are well-hidden in your build. There are grommets to the right of your motherboard to help with this. Lastly, flip the on switch on your power supply, plug it into the wall, plug in a monitor (usually to the GPU ports), plug in your Ethernet cable, unless your motherboard has Wi-Fi, and hit that glorious power button for the first time. You should see the beautiful lighting turn on, and all your dreams will be fulfilled. Okay, maybe I’m exaggerating, but it’s very exciting.
Once the PC has turned on, install your operating system (probably Windows 10). Make a USB drive with the installer for Windows 10 (or if you get the full Retail version, there will be a USB stick in the box). To do this, go to the Windows download page, run the media creation tool, then plug the USB stick into your new computer. You should boot into the installer, which will guide you through the process. You can also buy a cheap key on a website like scdkey.com, though this is the only such website I would recommend for this grey market buying method, as their keys are legitimate Retail versions.
I really hope this guide has been helpful to any new PC builders at J-D! It’s certainly a complicated process, but I promise it will be worth it in the end, with the money saved and reliability gained, as well as learning a new skill. Now that you’ve joined the PC building community, keep building, and have fun out there!